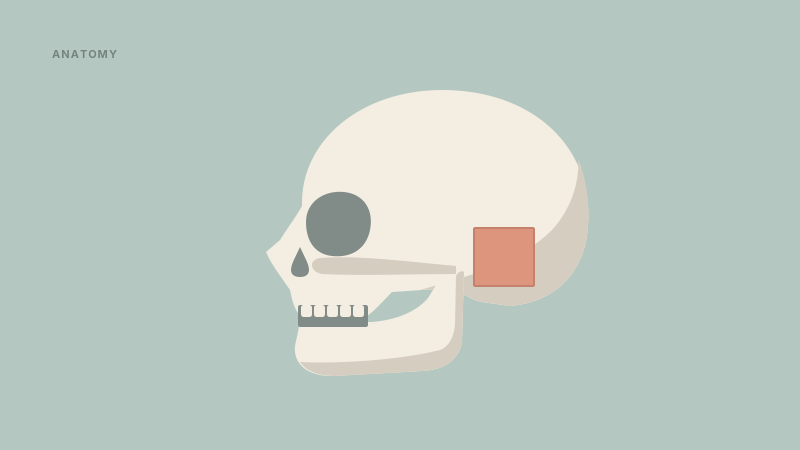
How to study Anatomy without 1,000 Image Occlusions
Anatomy flashcards often lead to review burnout. Learn how to group muscles, nerves, and diagrams into a queue you can actually finish.
Most students approach anatomy by taking a high resolution diagram of the brachial plexus or the lower limb, drawing forty boxes over every label, and hitting "Hide All, Guess One."
By the end of the week, they have a 400 card backlog. By the end of the month, they have quit using flashcards entirely.
I'm Daniel, a third year engineering science student at UofT. I work on Nebulearn, so I have a clear conflict of interest here. But before I built study tools, I spent way too many nights staring at diagrams and realizing that my due queue was growing faster than my actual understanding of the human body.
The problem isn't the flashcards. The problem is that image occlusion makes it too easy to create "low calorie" cards that feel like progress but actually just clutter your schedule.
Why anatomy queues explode
Image occlusion is the method of hiding a label on a picture so you can test your ability to name it. It is the gold standard for anatomy because it preserves the spatial context of a structure.
However, a single diagram of the skull might have 50 labels. If you make 50 individual cards for that one image, you are telling your spaced repetition algorithm that every single one of those landmarks is an independent piece of data.
In reality, they aren't independent. If you know the foramen ovale, you likely know the structures around it. Reviewing 50 individual boxes every few days is an inefficient way to maintain that mental map. You end up spending three hours a day just "clearing the deck" rather than learning new material.
Grouping by system instead of by diagram
To keep your queue manageable, you have to stop treating every label as a separate card. The first step is grouping.
Instead of occluding every single branch of a nerve in one sitting, group your cards by functional systems. If you are studying the upper limb, separate your cards into:
- Bones and landmarks
- Muscle groups (compartments)
- Innervation patterns
- Blood supply
When you group this way, you can use "Hide All, Guess One" more effectively. Your brain starts to associate the labels with the functional purpose of the structure, which is a much stronger memory anchor than just "the third box from the top."
Origin, Insertion, and Innervation
Muscles are the primary source of card bloat. A standard anatomy curriculum requires you to know the Origin, Insertion, Action, and Innervation (OIAI) for every muscle.
If you make a separate card for each of these four facts for every muscle in the body, you will drown. Instead of four separate text cards, try to combine them into a single "high utility" card or use a side-by-side view.
For example, use an image occlusion card for the muscle's location, and put the OIAI details in the "extra" or "back" section of that card. You want to trigger the memory of the innervation at the same time you are looking at the physical location of the muscle. This reduces the total number of cards in your queue while actually improving your encoding of the diagram.
Best practices for Image Occlusion
If you are using Anki, you likely use the Image Occlusion Enhanced add-on. It is powerful, but it can be clunky to set up for every single lecture slide. If you are on an iPhone, AnkiMobile costs about $25 one time, though the desktop version is free.
When you are creating these cards, follow these three rules to keep the queue lean:
| Rule | Why it helps |
|---|---|
| Overlap boxes | If two labels point to the same area, hide them both in one card to avoid giving yourself a "hint." |
| Use "Hide All" | Looking at the other labels while guessing one is basically cheating. It makes the card too easy, which ruins the spacing effect. |
| Add context | Put the clinical significance or a related nerve in the footer. It turns a "where is this" card into a "what does this do" card. |
If you want a more streamlined workflow, I built an image occlusion tool directly into Nebulearn that doesn't require any plugins. It’s designed to let you drag a box and create a card in about two seconds, which is helpful when you have 100 slides to get through before a lab.
The innervation trap
Nerves are the hardest part of anatomy to flashcard because they are continuous. A card that asks "what is this nerve" in the axilla looks almost identical to a card asking "what is this nerve" in the mid-arm.
To solve this, don't just occlude the label. Occlude a small part of the surrounding context too. If you can see the relationship between the nerve and the artery it travels with, or the muscle it passes under, the card becomes a test of anatomical logic rather than just shape recognition.
This logic-based approach is what keeps your review sessions short. When you truly understand the path of a nerve, you don't need to see the card every three days to remember it. You can rely on the FSRS algorithm to push that card out weeks or months into the future.
How to manage the daily due list
If you already have 1,000 cards and you're overwhelmed, do not delete them. Instead, use a "suspend" strategy. Suspend everything that isn't on the next upcoming exam.
Anatomy is cumulative, but your flashcard queue doesn't have to be. You can move cards into a "review" folder and only pull them back into your daily rotation when you start your final exam prep.
I work on Nebulearn because I wanted a way to handle this without the "all or nothing" feeling of traditional apps. Our free tier gives you 1,000 saved questions and 40 weekly AI credits, with FSRS enabled by default. It means the algorithm is working to show you the cards at the exact moment you're about to forget them, which is the only way to survive a course as dense as anatomy.